


Description:
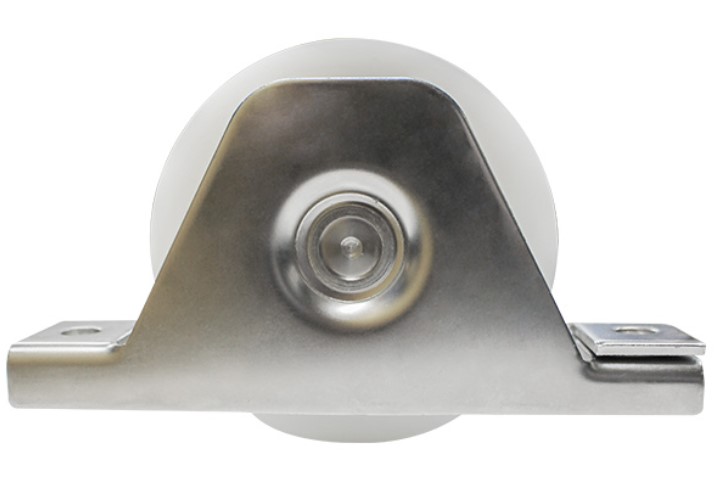
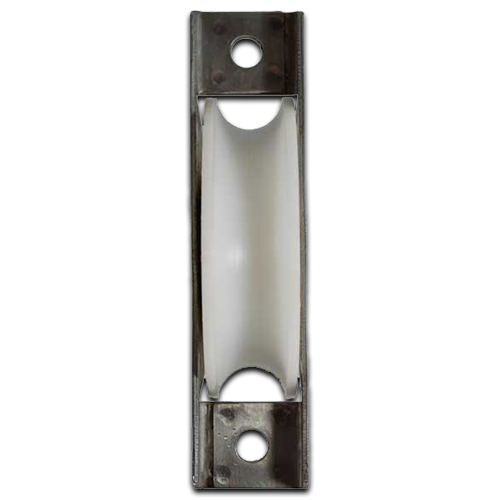
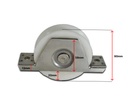
The WH380 Internal Sliding Gate Wheel Rollers are designed to provide smooth and effortless sliding gate operation. These rollers feature a white nylon wheel with a 90mm diameter, which reduces friction and ensures quiet operation. The rollers are mounted on a stainless steel bracket, providing durability and resistance to corrosion. With their U-groove design, these rollers are suitable for various types of sliding gates. Whether it's for residential or commercial use, these rollers offer reliable performance and ease of use.
Hold weight up to 100kg
Installing a sliding gate wheel involves a few key steps to ensure the gate operates smoothly. Here’s a step-by-step guide to help you install it:
Materials Needed:
- Sliding gate wheel
- Measuring tape
- Cutting machine
- Drill and drill bits
- Screws and bolts
- Wrench or screwdriver
Steps for Installation:
Prepare the Gate and Track:
- Before installing the wheels, ensure that your sliding gate is already installed and that the sliding track is properly laid out.
- The track should be level and secure to ensure smooth operation.
Step One:
Measure the sliding gate wheel cradle, ensuring there's enough space to attach the wheel to the steel frame. Use a cutting wheel to make the cut, but first, drill four holes (one in each corner) using an 8-10mm drill bit. This will ensure the square hole is clean in each corner.
Step Two:
Clean up the rectangular hole with a file to ensure smooth edges, then spray the area with galvanized paint for protection.
Step Three:
Place the sliding gate wheel into the cut-out and check that it can rotate freely. Ensure there’s enough space for securing the wheel with a tek screw.
Step Four:
When screwing in the tek screws, make sure the wheel is aligned with the edge of the steel. The last thing you want is for the wheel to be out of alignment. Avoid welding the wheel if possible, as this can make replacement more difficult later on.