


Description:
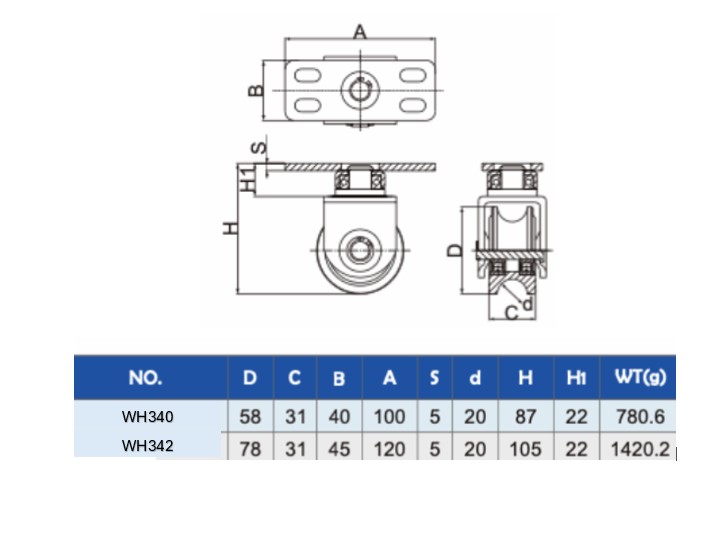
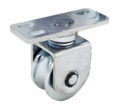
The Steel Sliding Gate 360° Turn Wheel is a durable and versatile solution for your sliding gate system. With its U-groove design and 60mm external diameter, this wheel allows for smooth and effortless 360° turning motion. The double-bearing system ensures reliable performance and minimizes friction. Crafted from high-quality steel, this wheel is built to withstand heavy loads and provide long-lasting durability. Upgrade your sliding gate with the Steel Sliding Gate 360° Turn Wheel for enhanced functionality and convenience.
Hold weight up to 180kg
Installing a sliding gate wheel involves a few key steps to ensure the gate operates smoothly. Here’s a step-by-step guide to help you install it:
Materials Needed:
- Sliding gate wheel
- Measuring tape
- Drill and drill bits
- Screws and bolts
- Wrench or screwdriver
Steps for Installation:
- Prepare the Gate and Track:
- Before installing the wheels, ensure that your sliding gate is already installed and that the sliding track is properly laid out.
- The track should be level and secure to ensure smooth operation.
- Determine the Wheel Placement:
- Decide where the wheel brackets will go on the gate. Typically, the wheels should be placed at the bottom of the gate. Depending on the gate size.
- The wheel’s placement is important for proper weight distribution and gate stability.
- Mark the Drill Holes:
- Hold the wheel brackets against the gate at the desired position.
- Use a measuring tape to ensure the placement is even and at the correct height.
- Mark the holes where the screws or bolts will go to secure the wheels.
- Drill the Holes:
- Drill holes at the marked points on the gate, making sure the holes are large enough for the screws or bolts provided in your wheel kit.
- If you’re installing a single wheel, the hole placement should be centered along the gate's width.
- Attach the Wheel Bracket:
- Secure the wheel bracket to the gate using the screws or bolts.
- Tighten them properly to ensure the bracket is secure. Be sure the wheel can rotate freely once attached.
- Install the Wheel:
- If the wheel is separate from the bracket, slide the wheel into its bracket or mounting system.
- Tighten any screws or bolts holding the wheel in place, ensuring it rotates easily and is properly aligned.
- Test the Gate:
- Test the sliding gate by moving it along the track.
- Check that the wheels glide smoothly without any obstruction or resistance. The gate should be stable and move freely.
- Adjust if Necessary:
- If the gate isn’t sliding smoothly, check the alignment of the wheels and track. You might need to adjust the wheel height or ensure that the track is level.
- Make sure the wheels are aligned with the gate and track to avoid any friction.
Try not to weld them onto the sliding gate frame it will be a nightmare to replace them later